Notion for Designers: A Complete Project Management Framework
Building Your Design Project Database in Notion
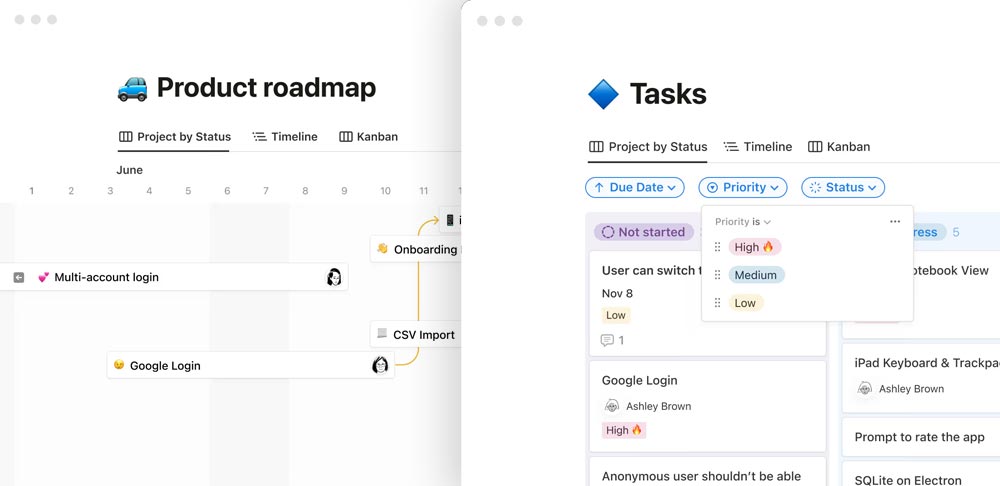
You need an organized space to manage all your design projects comprehensively. That’s why having a project database in Notion for designers is essential. This is where you can record the project name, progress status (To-do, In Progress, Review, Completed), deadlines, and project types like branding, web design, or UI/UX. All this information can be easily viewed in Kanban, Calendar, List, or Gallery view, depending on your preferred workflow.
Writing Clear Project Briefs in Notion
Beyond project structure, you also need to write a clear project brief on each project page. Don’t forget to add visual references like moodboards, competitor research, and existing brand assets. This helps keep your design direction consistent.
Managing Design Tasks with Linked Databases
Next, create a task management system that is directly linked to the project. Make sure you include properties such as task name, assignee, due date, and status. You can use views like Timeline, My Tasks, or Team Tasks to monitor daily or weekly progress.
Centralizing Client Information in Notion
Finally, build a client database to store all client information. Include the client’s name, contact person, email, phone number, website, and other important notes. Link this database to related projects so you can easily track collaboration history and avoid miscommunication.
By building a solid framework in Notion for designers, you’ll be able to focus more on the creative process without being bogged down by administrative tasks.
1. Streamlining the Design Workflow with Notion
Organizing Design Assets and Versions
In the design world, you’re constantly dealing with revisions and multiple file versions. That’s why it’s important to manage your design assets neatly. Inside Notion for designers, you can store links to files like Google Drive, Dropbox, or Figma directly within the project page. Don’t forget to add version notes so you can clearly track each design change. Also use an asset library to store reusable elements like icons, UI kits, or frequently used design systems.
Collecting & Processing Feedback Efficiently
Every design project needs structured feedback. You can add a dedicated feedback section to each project page. Use tools like Loom or Markup Hero to provide visual annotations, and mark their status as Received, Reviewed, or Implemented. This helps you and your team follow up quickly and accurately. If needed, create a custom feedback form to make it easier for clients to respond.
Centralized Communication and Notes
To keep communication from becoming scattered, create a communication hub within each project. Save meeting notes, agendas, or team discussions in one place. You can also integrate Slack or record key client interactions. This helps maintain context, especially when switching between projects.
Preparing for Developer Handoff
Once the design is complete, you’ll need to hand it off to the developer. This is where a handoff checklist becomes very useful. Make sure all files, design notes, and visual specs are included. Also link tools like Zeplin, Storybook, or Figma so developers can immediately understand components, spacing, and layout structure.
By utilizing these features, you can streamline your design workflow in Notion and boost efficiency at every stage.
2. Collaborating Seamlessly with Design Teams in Notion
Creating a Team Directory for Designers
To build a strong team, you need to know who’s involved. Create a team directory in Notion for designers listing member names, roles, expertise, and contact details. This makes it easier to collaborate with specialists like UI designers, copywriters, or developers.
Managing Meetings and Action Items
Next, manage all meeting agendas and notes in one place. Use templates for stand-ups, retrospectives, or weekly check-ins. Each meeting can include an action item tracker so your team knows the next steps. Calendar integration also helps ensure all meetings are properly scheduled.
Building a Design Knowledge Base
To avoid restarting from scratch every time a new member joins or a new project begins, create a knowledge base containing design SOPs, internal guidelines, and quick tutorials. Include visual inspiration and bookmarked resources that are often used. This becomes a living reference that evolves over time.
Tracking Team Performance and Project Health
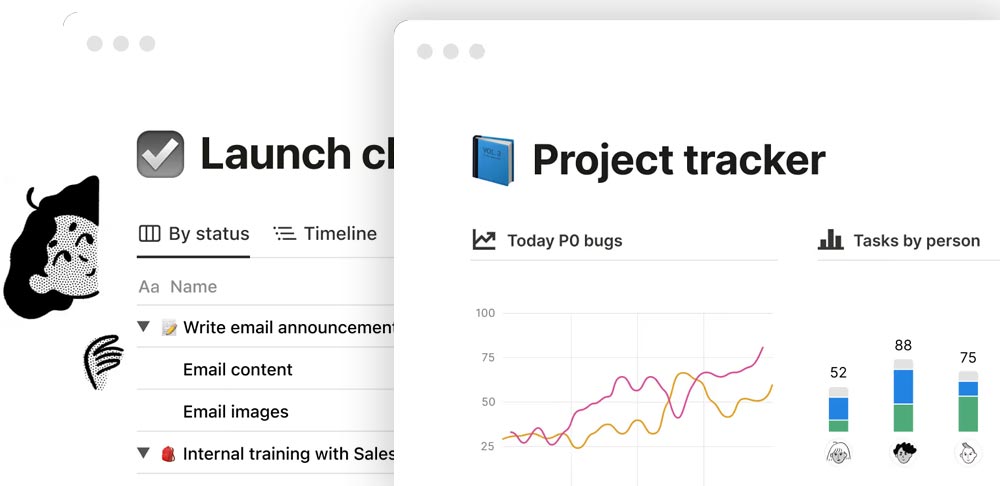
Finally, it’s important to regularly monitor team performance. Use a simple database or charts to view task completion rates, timeline adherence, and project notes post-completion. This helps you make better decisions for future projects.
3. Archiving Projects and Building a Design Portfolio
Creating a Smart Archiving System
Once a project is done, don’t just forget about it. Create a project archiving system in Notion for designers to store all completed work. Make sure each entry includes key details like project name, client, final output, and completion date. This way, you can easily revisit past references or showcase your track record to potential clients.
Running Retrospectives and Post-Mortems
Every project is a learning opportunity. That’s why it’s important to conduct a retrospective. On the project archive page, add a dedicated template to record what went well, what challenges arose, and the solutions you found. This helps you grow from one project to the next, both technically and strategically.
Curating Case Studies for Your Portfolio
You can also use this archive to build your design portfolio. Choose your best projects, and create case studies with a brief description, visual results, and key insights. Include links to platforms like Behance or your personal website so they’re easy to share with clients or recruiters.
By systematically archiving projects and turning them into case studies, you can maintain a strong track record and reinforce your credibility as a professional designer.
4. Best Practices to Maximize Productivity in Notion
Use Visual Cues for Better Navigation
To make your workspace feel more intuitive, add visual elements like icons, cover images, and color codes to your Notion for designers pages. Use colors to differentiate project types or statuses, and icons for quicker visual scanning. This improves navigation efficiency.
Build a “Today View” Dashboard
Create a dedicated “Today View” page. Here you can display today’s due tasks, important notes, scheduled meetings, and quick links to active projects. With one dashboard, you won’t need to open multiple tabs just to check your priorities.
Link Databases Across Your Workspace
Next, make use of the linked database feature to connect information between pages. For example, link your client database to their respective projects or connect tasks with their assigned team members. This creates a more integrated and efficient workflow.
Maintain Naming Conventions and Review Routines
Be sure to use consistent naming conventions so that files, tasks, and pages are easy to find. Also, dedicate time each week to review and tidy up your archives.
Conclusion: Start Building Your Ideal Design Workspace in Notion
Now you have a complete overview of how to build an efficient and organized design system with Notion for designers. Start with a structured project setup, smooth team collaboration, and automation that lightens your workload. The key is consistency and the willingness to continuously improve your workflow.


